Recently I was asked if I could install a new intercom system to a building that had recently been converted for apartment dwelling. After looking around for one that fit the clients needs, I realized I could build one that was less expensive and extremely functional with technology that I know pretty well. I love it when I can get crossover from my maker life into my work life! I knew I could get Freeswitch to fire off a shell script using DTMF tones. The bind_meta_app handles this for us. Here’s the line in my dial plan that listens for DTMF.
<action application="bind_meta_app" data="9 b i transfer::-bleg open_sesame XML features"/>
Visitors dial a two digit apartment number. This rings the tenant’s cell phone using a VOIP service. Call recipients press star 9 to trigger the Arduino to trip the relay which sends current to the door strike. Mind you that the ‘b’ after the 9 (for b-leg) means only the call recipients can trigger the relay. We can’t have people letting themselves in!
Then in features.xml:
<extension name="open_sesame">
       <condition field"destination_number" expression="^open_sesame$">
       <action application="answer"/>
       <action application="playback" data="voicemail/door_opening.wav"/>
       <action application="event" data="${system(/bin/echo -n YOURSTRINGHERE  >> /dev/ttyACM0)}"/>
       <action application="hangup"/>
       </condition>
</extension>
This echos a string to the serial port on the Arduino. Code on the Arduino listens for certain strings that can trigger any number of 4 relays. The -n switch means no return character, which is a different ascii code we don’t want to hear. The lovely voice tells the call recipient that the door is opening. I love devices that tell you what they’re doing…so friendly!
In my Arduino sketches I have a habit of adding in a couple of LED blinks to the setup function so that I know if it has been reset by power loss or whatnot. It turns out that helped me figure out that I had landed in a huge pile of whatnot. If you echo strings directly to the serial port of an older pre-Leonardo Arduino, you tickle the hardware reset and it reboots. Normally that would be used by the Arduino software to reset the board after you’ve uploaded your new sketch. After much chin scratching and googleing I learned a 47K Ohm resistor between the 3v and ground pins disables this.
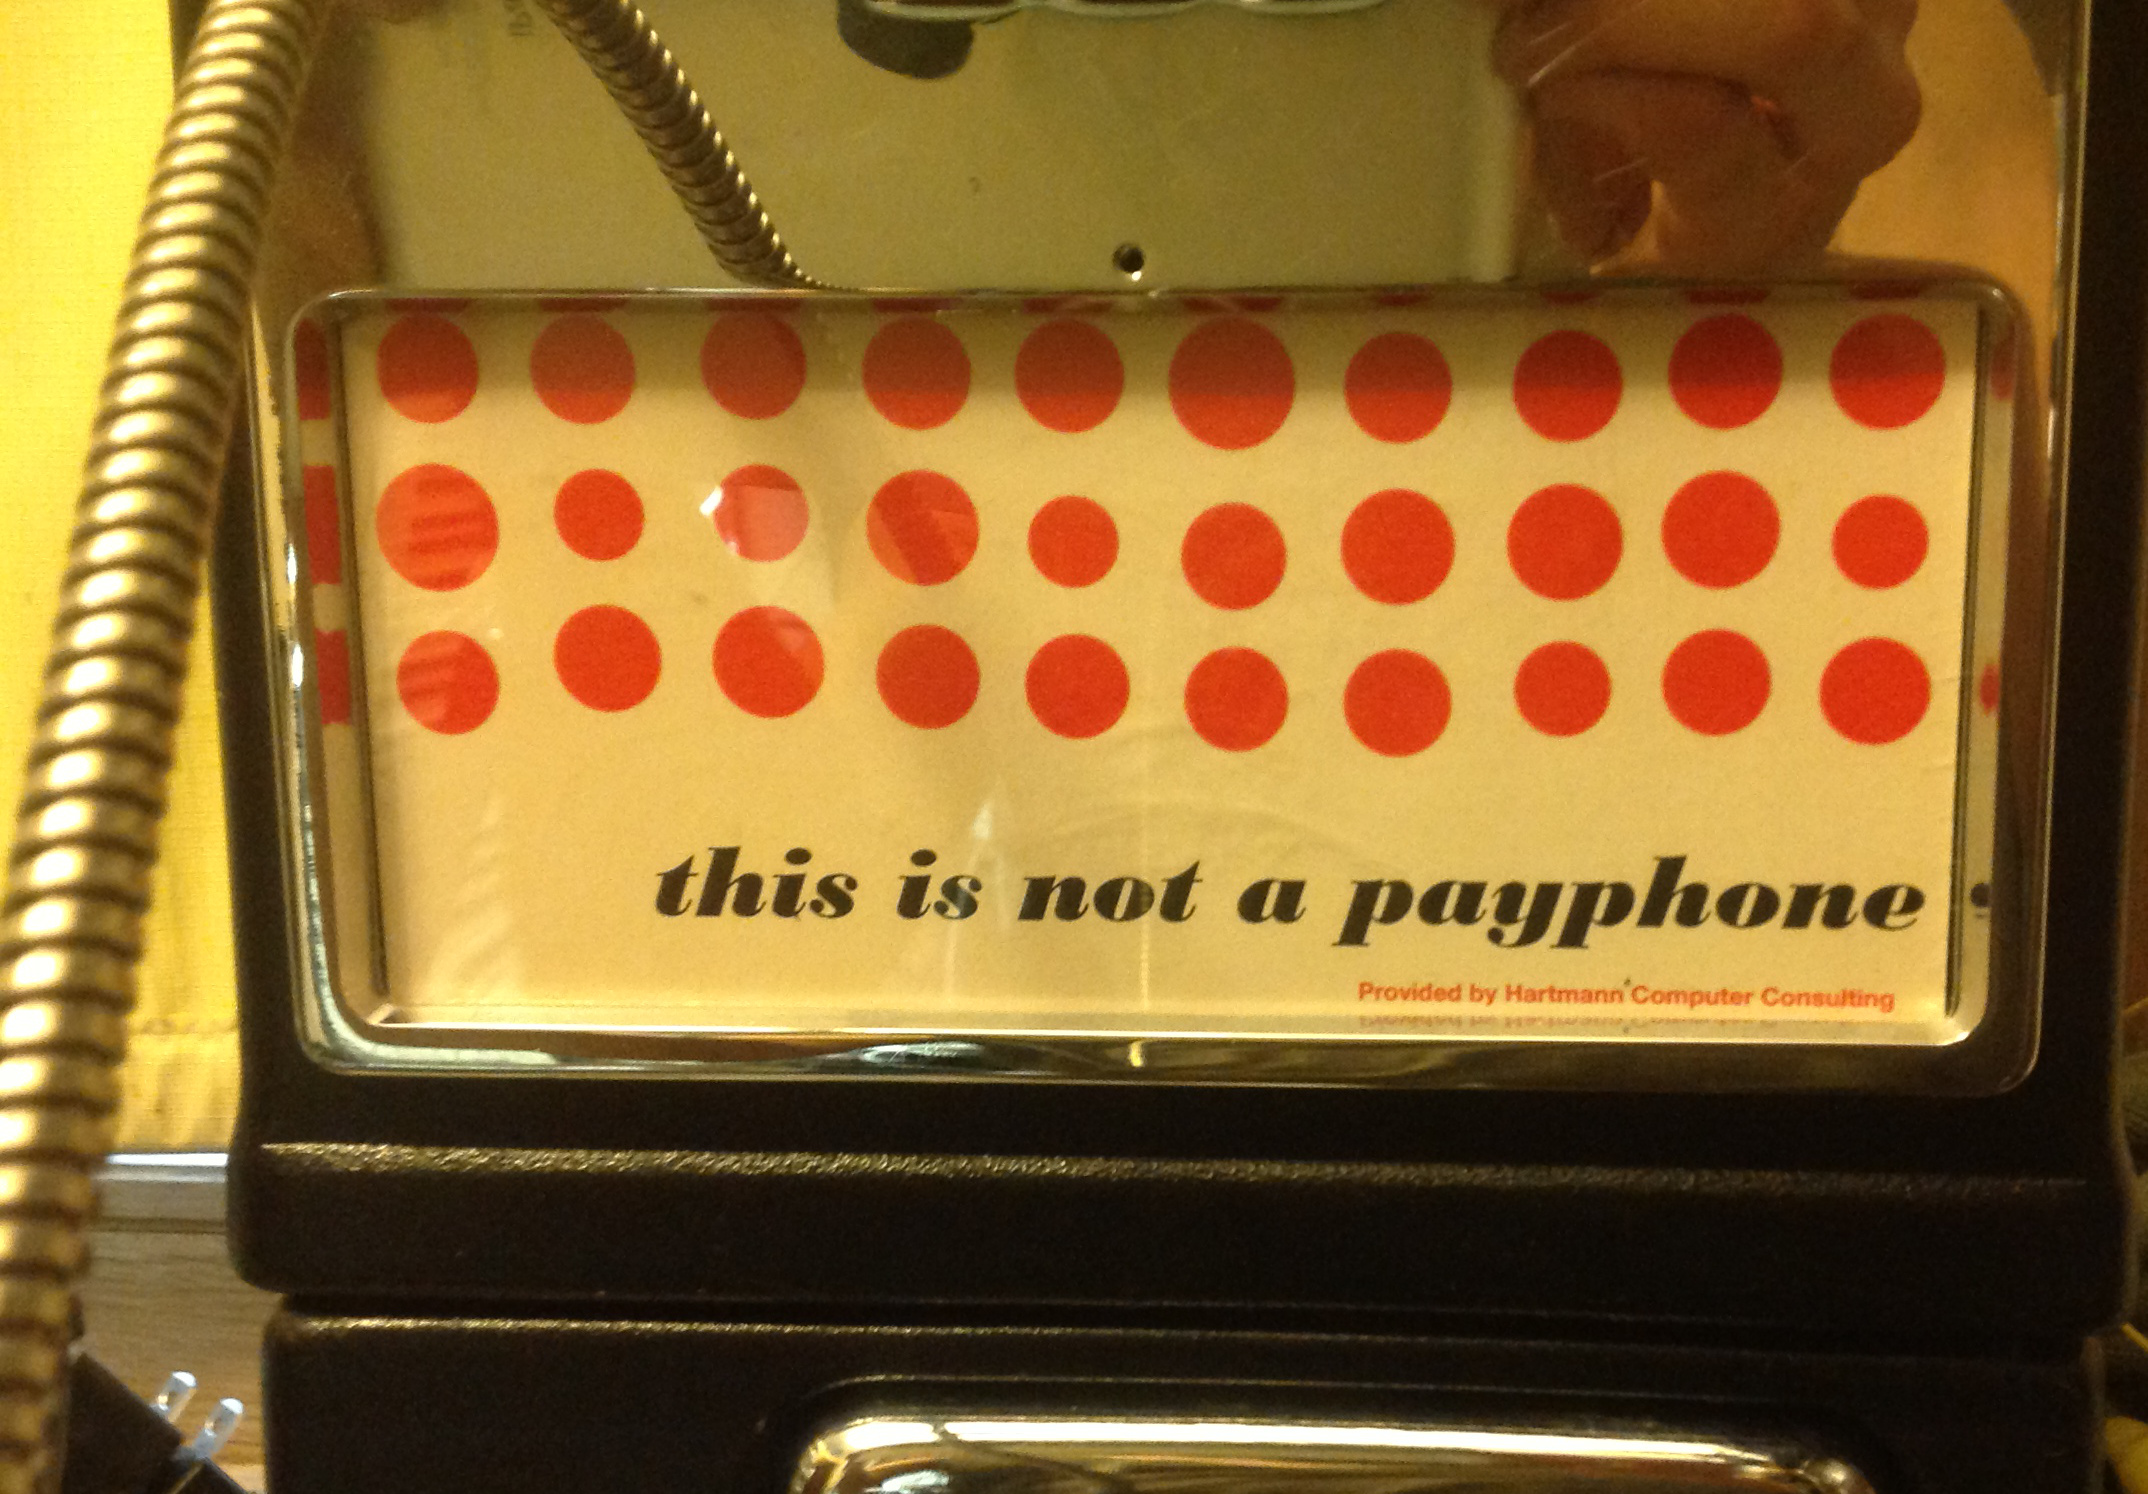
I was shopping for vandal proof outdoor telephones and realized…hey there’s no shortage of those on Ebay. And they cost 1/3rd of a traditional vandal proof speaker-phone with dial pad! Thanks to Ian Hendrickson-Smith for the inspiration on bottom artwork. 😉 The client _loves_ the payphone. The building actually has Keith Haring murals all throughout, so it kinda fits vibe of the place.

It turns out this was a ‘smart’ payphone that a certain company was not able to remotely program for me. Not only did I need it to make free calls but I needed it to be able to make 2 digit calls instead of the usually 10 or 11 digit dialing that they are programmed for in the field. In the end I just purchased a replacement phone board from said company, one that is used in converting payphones for home use. At first it worked better as an AM radio that is until I discovered ferrite cores for filtering out these signals. Also their keypad didn’t fit my upper housing so I ended up having to figure out how to make my current keypad fit their phone board. Once I got my keypad apart I could see how the matrix worked. I think they must have just invented circuit board ‘via’s and were trying to incorporate them wherever they could! It was the 80’s. On the phone board side I could clearly see the traces to the DTMF chip. After a bit of googleing I found the data sheet on that. I matched up the corresponding rows and columns and was good to go.


The Freeswitch software is running on an Alix board, a low power embedded x86 platform normally used for wifi access points. It has an 500Mhz AMD Geode processor and 256Mb ram and it handles Freeswitch without issue. My dialplan only allows calls from the front door so I can rest assured that it will only be making one call at a time. No worries on unexpected load.

Alix 3D2 board, Arduino UNO with Seeed Studio Relay Shield, Grandstream ATA and AC Power.
The client maintains a Google Doc spreadsheet which has apartment numbers and corresponding cell numbers. I have written a bash script that runs on the device daily. It scrapes the Google Doc in CSV format and rebuilds the dialplan based on this information. This seemed preferable to running a LAMP interface on the low-power device. Here’s the script if you want to use it.
Thanks for reading!